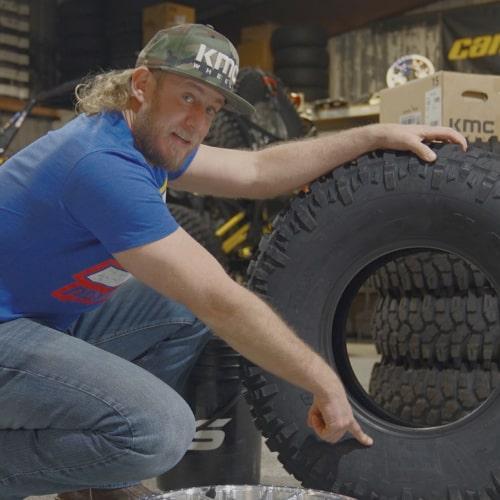
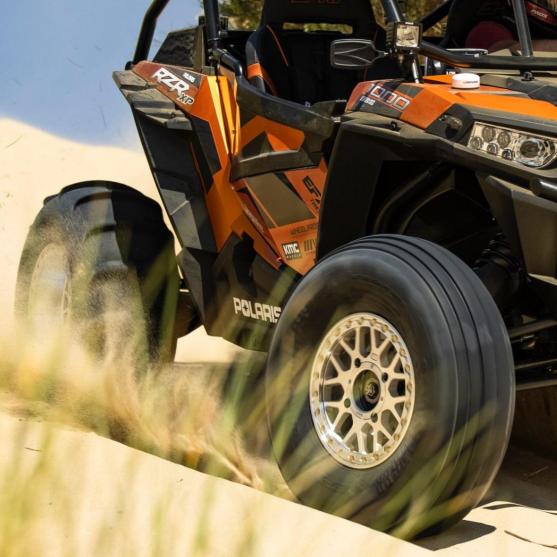
From high-speed desert showdowns to vertical crawls through the rock gardens, Dustin "Battle Axe" Jones knows performance. So, when it comes to mounting and maintaining his KMC Beadlock wheels, Jones does not cut corners. We had a chance to catch up with Jones at the S3 Power Sports race shop and get the scoop on mounting tires on KMC Beadlock wheels. Whether you're an experienced off-roader or prepping for your first season on the trails, this DIY tutorial is the perfect play-by-play on how you can install tires from the comfort of your garage with minimal tools or experience.

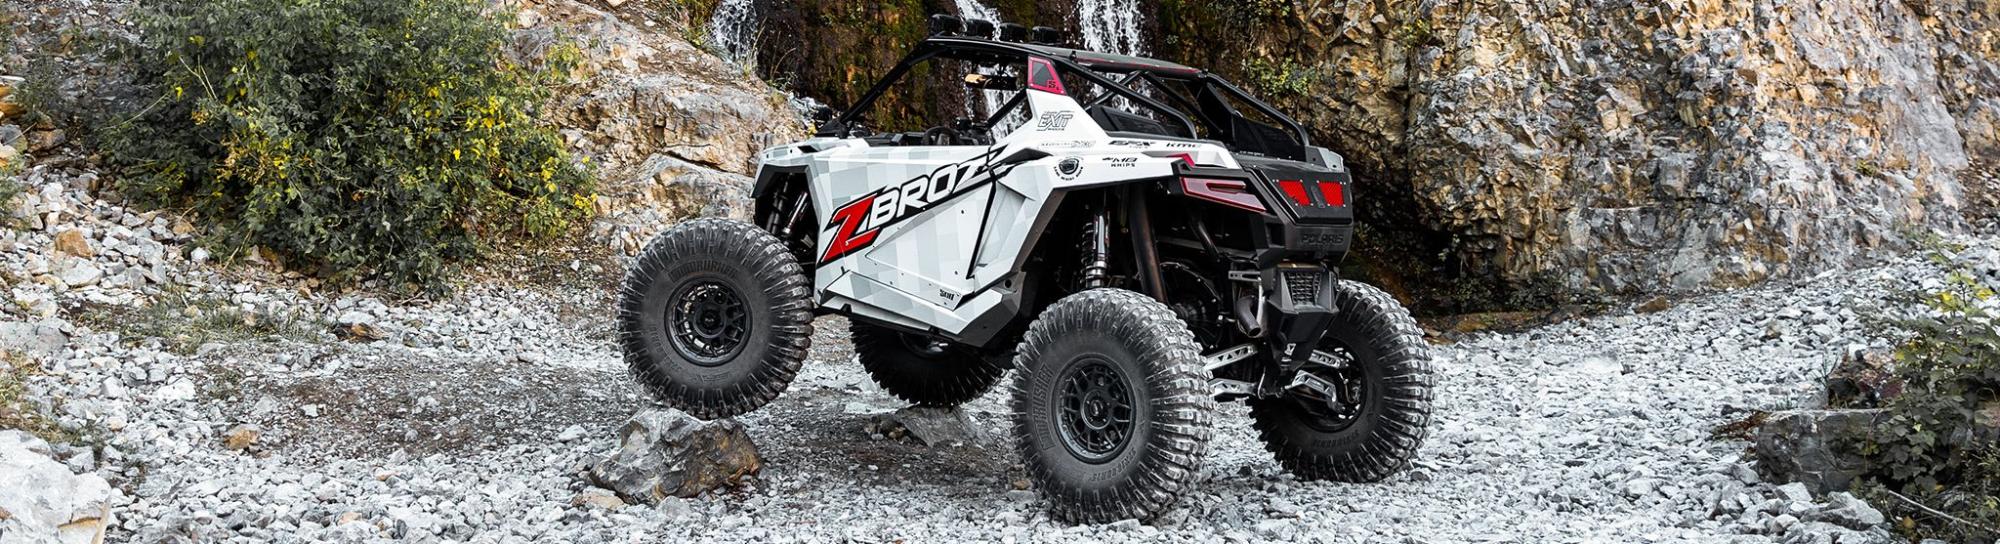
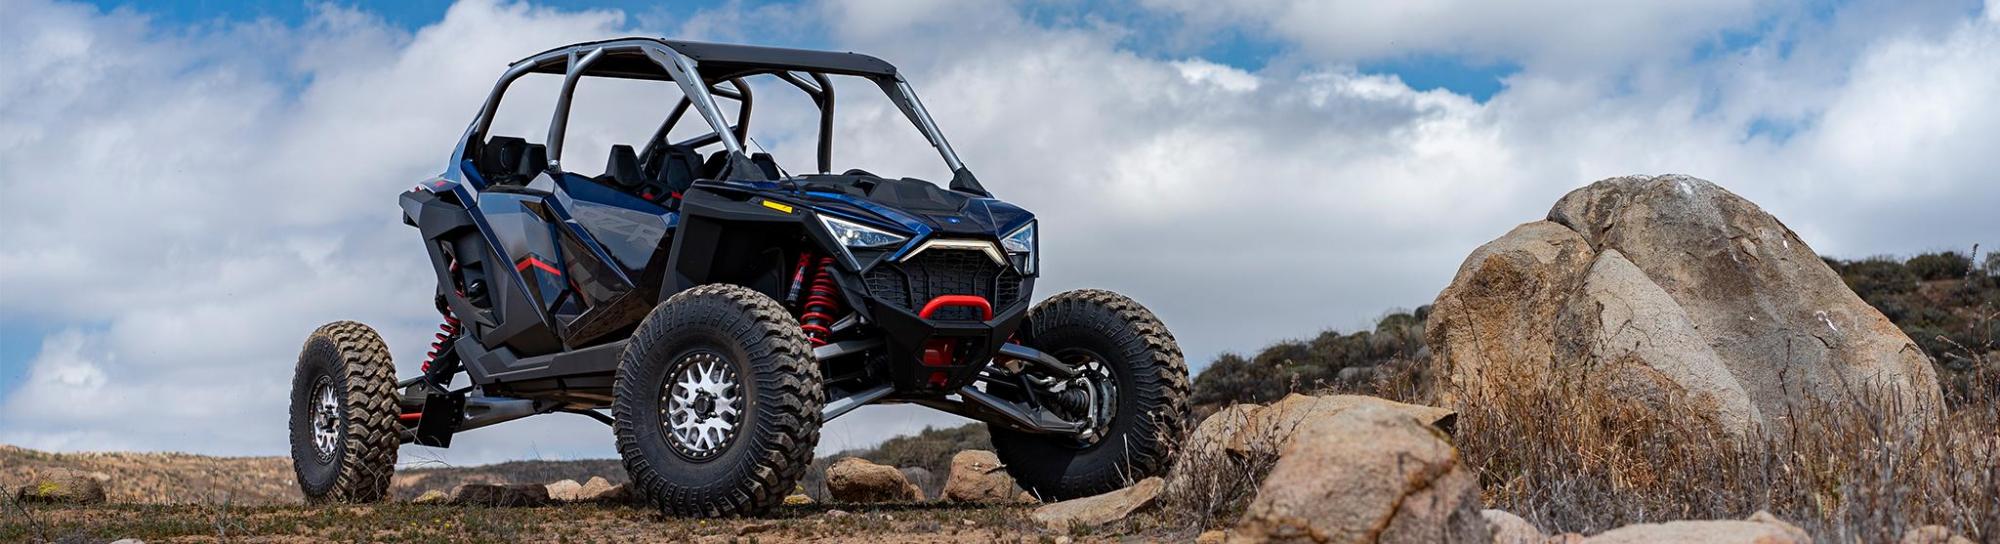
KMC Beadlock wheels are built with total performance in mind. Whereas a conventional wheel relies exclusively on air pressure to secure the tire bead to the rim, beadlock wheels utilize a beadlock ring to physically clamp down on your tire's bead and hold it in place. Beadlock wheels allow drivers to run lower tire pressure to increase grip in a variety of scenarios without risking tire debeading. From desert racing and rock crawling to trail-blazing rough terrain, KMC Beadlock wheels are the ultimate choice for your off-road performance needs. To learn more about KMC's beadlock and knurled beadseat wheel designs, click here.

Let's get started.
STEP 1: Remove Beadlock Ring
Your KMC wheels will arrive with your beadlock ring pre-installed with three bolts holding the ring in place. These bolts must be removed before mounting your tire. You won't need your beadlock ring again until your tire is mounted on the wheel, so find a safe and secure area to store your ring until you reach step 4.

STEP 2: Lubricate Your Tire Bead
Use your choice of lubricating agent to moderately lube the exterior tire bead (the side that will be going face down on the wheel) and the interior of the opposing tire bead (the side that will be up against the lip of the wheel). This will eliminate any headaches while positioning your tire around your wheel and allow easier mobility if you need to reposition.
Dustin Jones Pro Tip: The colored dots on your tires notate your sidewall's thickest and thinnest area. The red dot marks the thickest spot on your tire, while yellow signifies the thinnest. Dustin advises lining up the yellow dot with your valve stem since the valve stem is typically the heaviest spot on your wheel.

STEP 3: Position Tire On Wheel
Make sure your wheel is positioned face up with the lubed side of your tire facing down towards your wheel. Drop the tire on the wheel, letting one side of the tire fall, and work your way around the tire until it drops completely on the wheel.
Dustin Jones Pro Tip: You'll notice the outer tire bead is off the lip of the wheel while on the ground. Use your 5-gal bucket to act as a stand for your wheel, allowing the tire's weight to aid in mounting. This method will help you get your beadlock ring on the wheel much easier.

STEP 4: Install Beadlock Ring
Now that your tire is mounted and sitting in the proper beadseat, it's time to install your beadlock ring. Begin installing your hardware (bolts and washers) and tighten it by hand. Once you've installed each bolt, you can begin tightening with your 3/8" ratchet and socket. Be sure to tighten until snug. DO NOT TORQUE DOWN ON BOLTS with your 3/8" ratchet.
Dustin Jones Pro Tip: You'll notice your beadlock has an engraved KMC logo on the outside. Use this as a reference point to position your ring. Dustin recommends lining up with the logo with your tire's valve stem. This trick will ensure your ring holes line up with your mounting holes around the entire wheel and serve as a starting point for tightening.

STEP 5: Torque Your Bolts
Torquing your beadlock bolts to spec is the most vital step in your installation process. To begin, choose your starting bolt. Dustin recommends choosing a one of the two bolts on either side of your valve stem. From there, you'll want to tighten in a star pattern until each bolt is adequately tightened. KMC recommends 12-14 ft/lbs of torque per bolt.
Dustin Jones Pro Tip: Dustin recommends repeating this tightening process twice (three times total). Repeating this process will address any bolts that may have lost torque due to the beadlock ring moving slightly and your tire bead adjusting to the downward pressure.

You've now successfully mounted your tires to your KMC beadlock wheels. Whether tackling this project in your driveway, garage, or in the desert, you've added one of the most imperative how-tos to your off-road survival skillset. From here, air up your tires, mount your wheels and begin your journey!
From Dustin Jones and the team at KMC, happy adventuring!